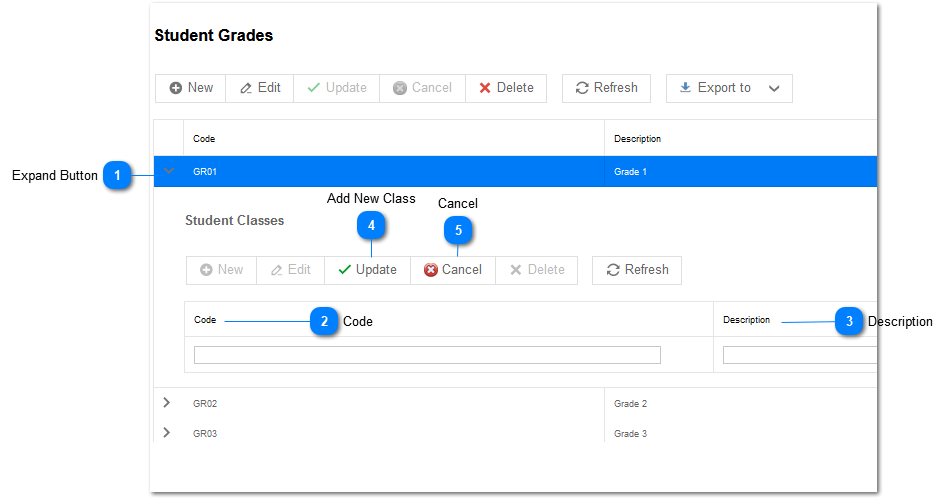
A New Class is added by selecting the Expand button to the Left of the Grade Code. When this is done the list of Classes that have been Created for the Grade will be Displayed.
The following are required/compulsory fields:
(i) Class Code
(ii) Class Description
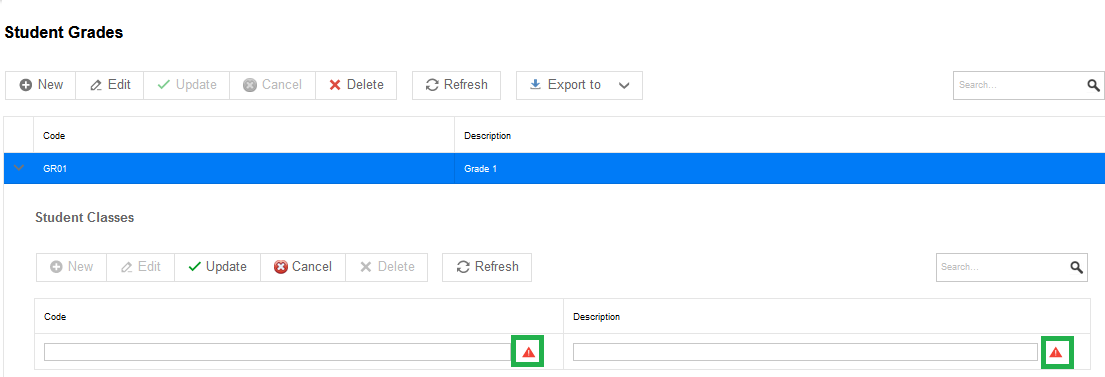
The Required/Compulsory fields must be completed as this is critical information that will be used during the creation of the timetable.
The user will not be able to save a New Class information if these fields are not completed.
Should the user attempt to create a new Class, by selecting the Update button (), and the fields have not been completed, the system will also indicate that these are Required/Compulsory fields ().
The first field to be completed is the Class Code. This is a Code for the Class that will be displayed during the creation of the timetable.
Note: The Class Code is restricted to 5 alphanumeric characters.
The Class Code is a unique field. Thus, the user cannot register two Classes with the same Code. Should the user try to save a Class
with a Code that already exists, the Error Screen below will be displayed:
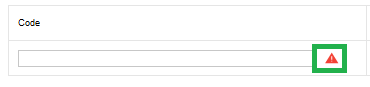
Should the user not enter Class Code and Left Click on the Save button, the Class Screen below will be displayed, indicating that not all of the Required/Compulsory fields have been entered.
The Class Description is a unique field. The implication of this being that the user cannot register two Classes with the same Description.
Should the user try to save a Class with a Class Description that already exists, the Error Screen below will be displayed:
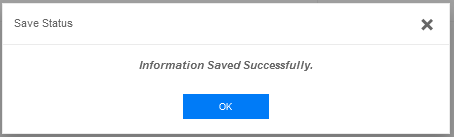
Should the user enter a Valid Unique Class Description and a Valid Unique Description, the room information can be saved by Left Clicking on the Update button.