Menu
Index

Add New Subject

Add New Subject
 
1

General

1. General
 
Note:     The Update, Cancel buttons () are greyed out (inactive) and are not available for use.
These buttons will become active when the user selects the New () or Edit () buttons:
 
Required/Compulsory fields
 
The following are required/compulsory fields:
 
(i)     Subject Code
(ii)     Subject Description
    The Required/Compulsory fields must be completed as this is critical information that will be used during the creation of the
     timetable. The user will not be able to save () a New Subjects information if these fields are not completed. 
 
 
2

Code

2. Code
 
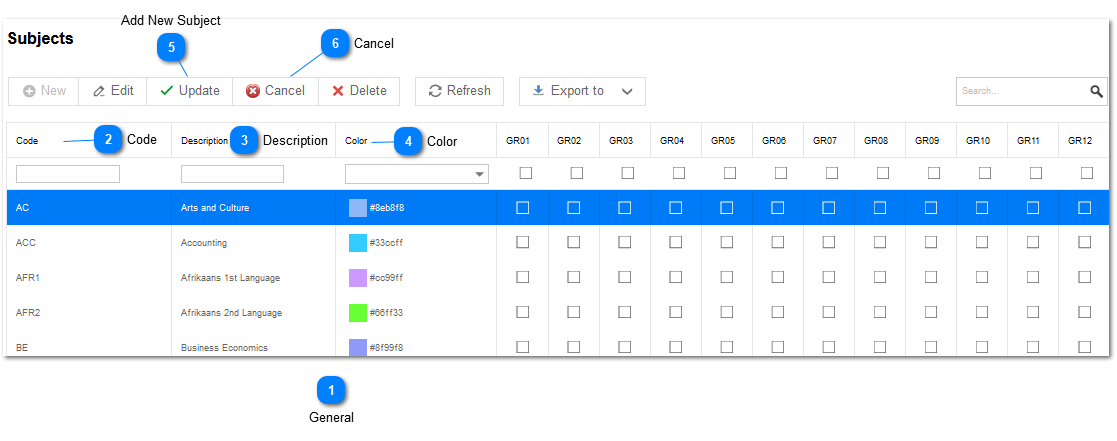
The first field to be completed is the Subject Code. This is a Code for the Subject that will be displayed during the creation of the timetable.
 
Note:     The Subject Code is restricted to 5 alphanumeric characters.
 
    The Subject Code is a unique field. Thus, the user can not register two Subjects
    with the same Code. Should the user try to save a Subject with a Code that
    already exists, the Error Screen below will be displayed:


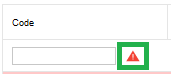
If the user deletes the Subject Code and Left Click on the Update button (), the Error Screen below will be displayed, indicating that not all of the Required/Compulsory fields mentioned have been entered.


Should the user enter a Valid Unique Subject Code and proceeds to Create a New Subject by Left Clicking on the Update button (), the Error Screen below will be displayed, indicating that not all of the Required/Compulsory fields have been entered. 


3

Description


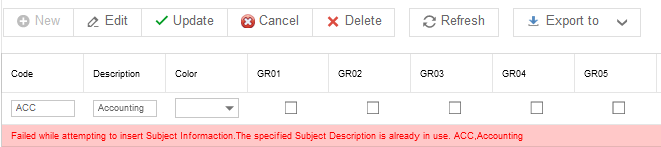
    The Subject Description is a unique field. The implication of this being that the user cannot register
    two Subjects with the same Description.
 
Should the user try to save a Subject with a Subject Description that already exists, the Error Screen below will be displayed:
 
 
Should the user enter a Valid Unique Subject Code and a Valid Unique Description, the Subject information can be saved by Left Clicking on the Update button.
 
 
4

Color

4. Color
 
This is the color that will be used when the Timetable Grid is displayed.
 
Tip:      It is recommended that different colors
          be used for the different subjects. Should
          the user make use of two colors that are
          the same for different subjects, it might
          cause confusion when the subjects are
          displayed.
 
Select the appropriate color by Left Clicking on the Colour button.
 
 
The color selection panel in the screen below will be displayed.
 
 
Any color can now be selected from the panel by Left Clicking on it. The selected color will be displayed in the Colour Column.
 
 
5

Add New Subject

Once all relevant Subject Information has been captured/changed, the information can be Saved by Left Clicking on the Update button ().
 
Should all required information have been captured correctly, the Subject will be added to the list of Subjects.
 
The Notification Screen below will be displayed, indicating that the New Subject Information was saved successfully.
 
 
Left Click on the OK button to acknowledge the Notification.
 
6

Cancel

6. Cancel
The user can Cancel the Current Add Action by selecting the Cancel button ().
Made with help of Dr.Explain