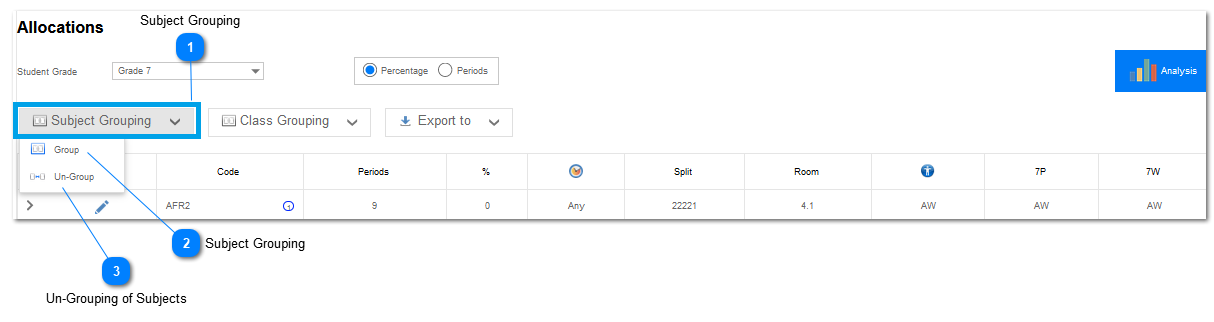
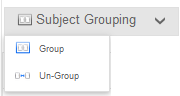
The Subject Group controls allow the user to group or ungroupSubjects that need to share the same time slots on the timetable for a grade.
Selecting one or more grouped subjects will enable the Ungroup Subjects button, which is used to ungroup the selected subject group.
Note: Should the user make changes to the configuration (Periods, Spreads, Splits, or Class Groups) of one of the subjects in a subject group, the changes will
automatically be applied to the rest of the subjects in the subject group.
This will ensure all subjects in the groupremainsynchronized until the timetable is generated from the Timetable screen.
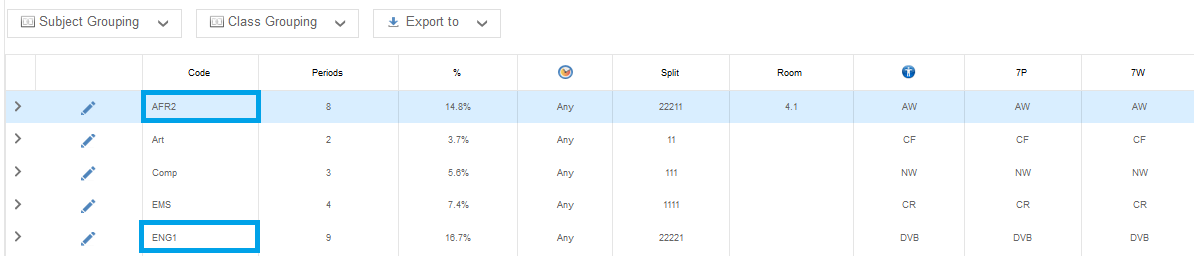
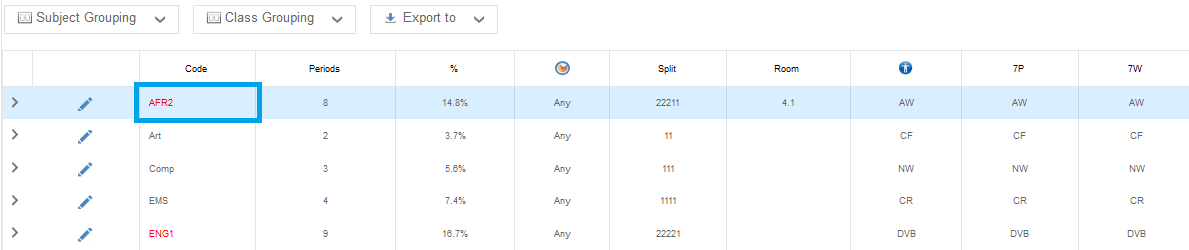
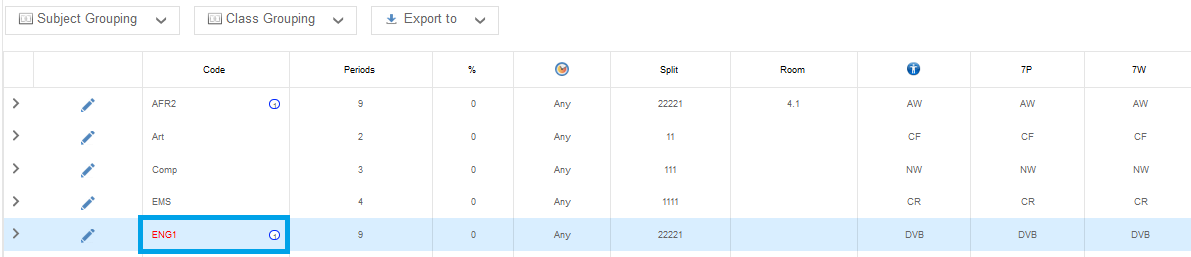
(ii) Select the firstsubject by first pressing and holding down the <CTRL> key, and then Left Clicking on the subject name “ENG1”. As soon as this is done the selected
subject color will change to RED.
Note: A Subject can be un-selected by holding down the <CTRL> key, and then Left Clicking on the subject name for a second time.
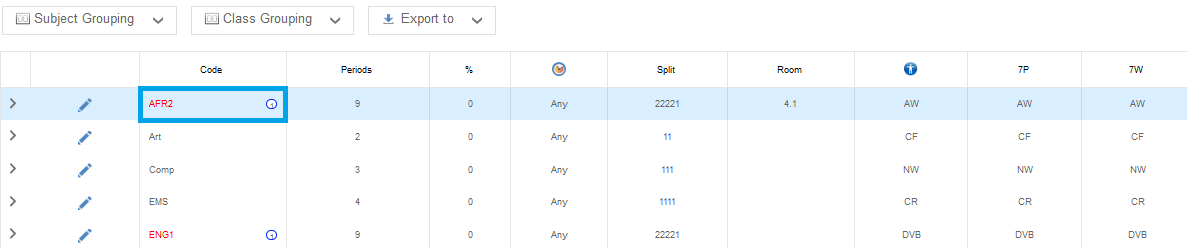
(iii) While holding down the <CTRL> key, select the second subject in the group by Left Clicking on the second subject “AFR2”. As soon as this is done the selected
subject color will change to RED.
(iv) Additional subjects can be added to the group while holding down the <CTRL> key and Left Clicking on the subjects.
(v) Left Click on the Group Subjects button Menu Option to group the selected subjects.
Note: Should the Subject configurations (Periods, Spreads, Splits, and Class Groups) for the selected subjects differ, the screen below will be displayed,
prompting the user to confirm applying the configuration of the subject that was selected first,to the rest of the subjects in the group.
Accept this by Left Clicking on the OK button (), the configuration of the first selected subject will be applied to the all of the subjects in the group.
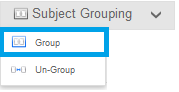
Example: The first subject in the group that was selected (ENG1) had 9 periods while the second subject had 8 periods. By accepting the above mentioned
the number of periods for AFR2 was changed from 8 to 9.
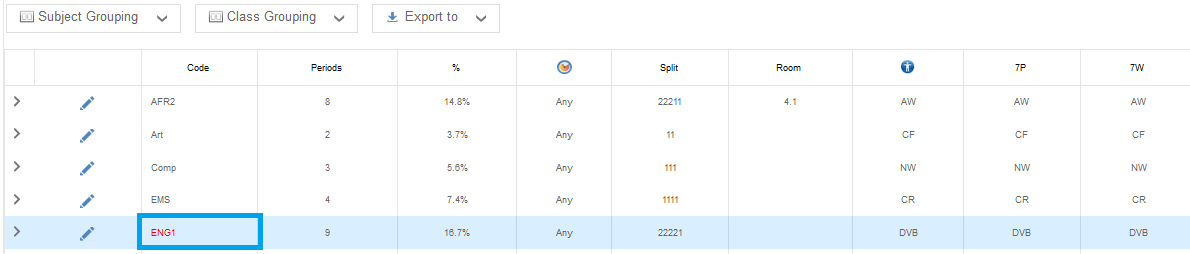
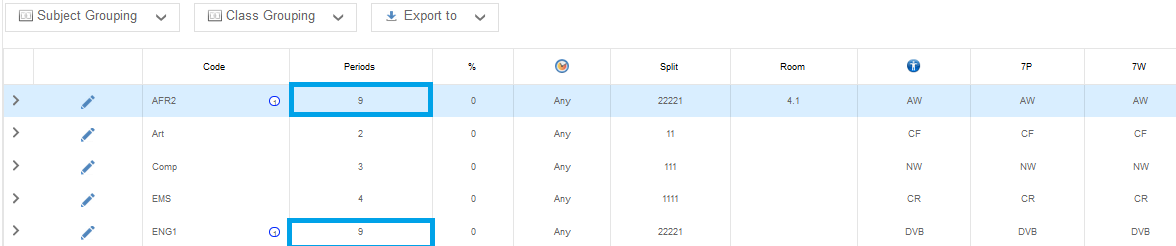
Should the user accept the grouping, a group number will be allocated to the group of subjects – in this case group number “1”.
Group numbers start at 1 () and increase for any subsequent subject groups that the user configures within the current grade.
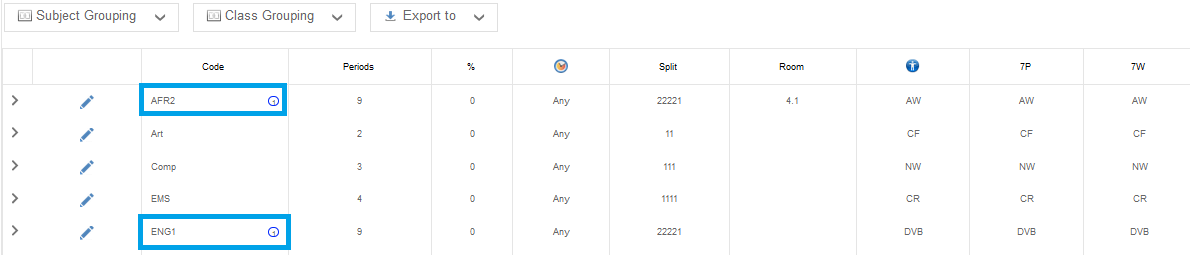
(i) Un-Group the two subjects AFR2 and ENG1 are currently Grouped - Group 1.
(ii) Select the firstsubject by first pressing and holding down the <CTRL> key, and then Left Clicking on the subject name “ENG1”. As soon as this is done the
selected Subject color will change to RED.
Note: A Subject can be un-selected by holding down the <CTRL> key, and then Left Clicking on the subject name for a second time.
(iii) While holding down the <CTRL> key, select the second subject in the group by Left Clicking on the second subject “AFR2”. As soon as this is done the
selected subject color will change to RED.
(iv) Additional subjects can be added to the group while holding down the <CTRL> key and Left Clicking on the subjects.
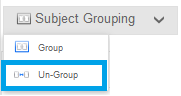
(v) Left Click on the Un-Group Subjects button Menu Option to un-group the selected subjects.